Play With RFiD For Fun And Convenient
Thanks to my rich colleague Geoffrey for give me a chance to play Proxmark3.
Here I just log what I do to crack and clone the access card cause it’s convenient to use a tag which can be attached to key ring instead of take a card..
1. Determine the card type
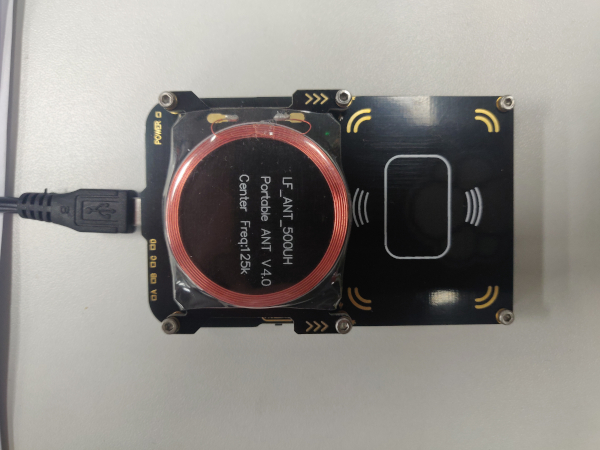
First plug Proxmark3 to your computer and make sure your system recognizes it correctly. Here for me it is recognized as ttyACM0.

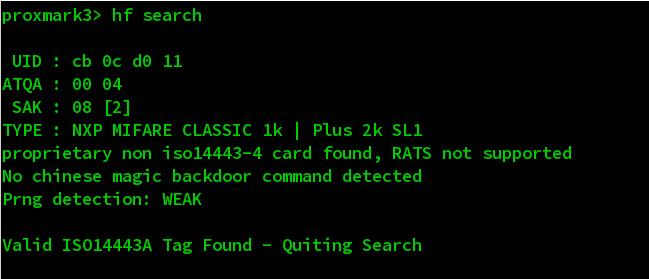
Then use connect to it and try to recognize the card. Here I already known that it’s HF card, so I directly use below command to check whether it works or not.
|
|
If success, it will show me below information.
If proxmark3 throw any errors, you may have a try to flash the ROM, for more details following the instructions in the github page.
2. Retrieve Keys
Now we already know it’s a NXP MIFARE Classic 1k card, we try to use below command to get keys for each sectors.
|
|
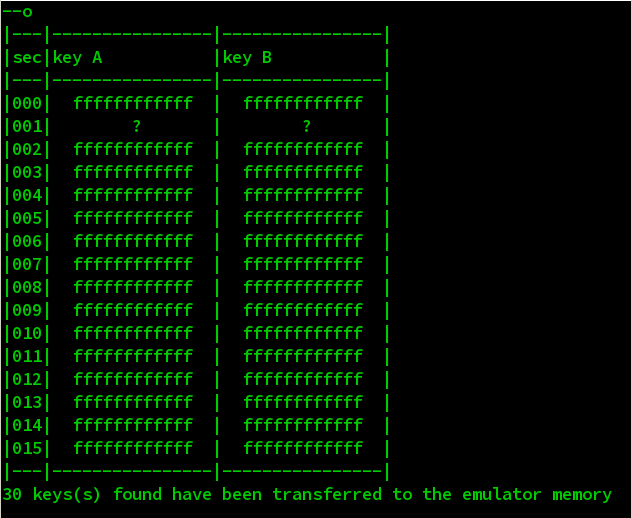
We found that the sector 1 does not use a key in proxmark3’s dict, but we can see the sector 0 use a known key.
If you are not luck, you may encounter that the sector 0 also use a unknown key. Then you can try to use below command to do a crack.
|
|
3. Cracking
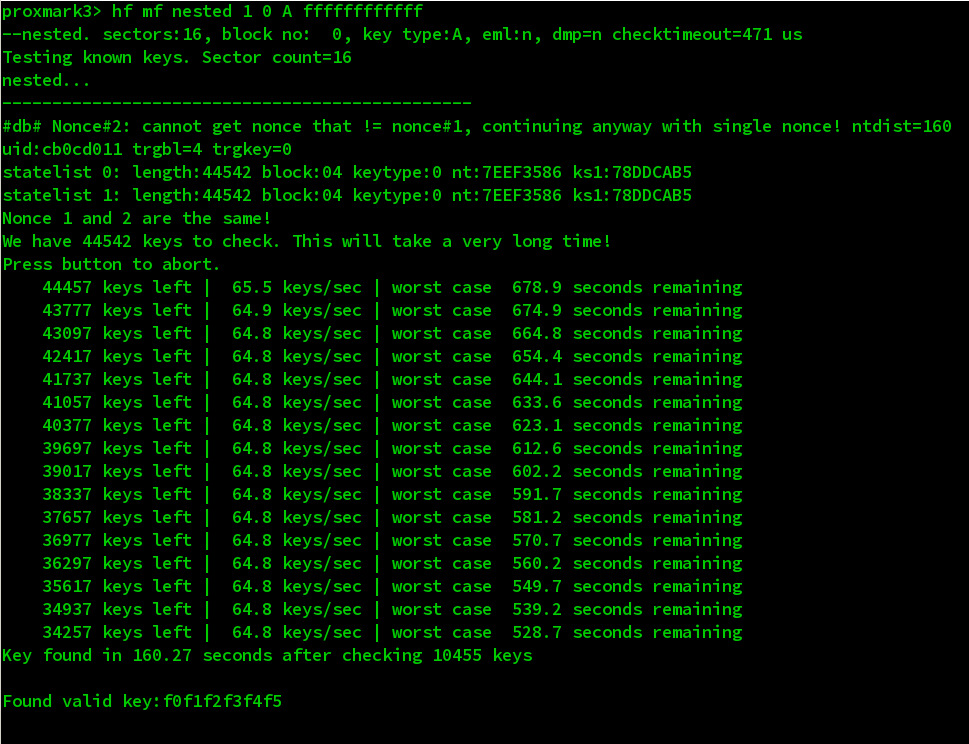
Here we already known the key of sector 0, we can crack it via so called MFOC crack.
|
|
Yeah! Just a moment we got it!
4. Clone To Empty Tags
Here the key for sector 1 is F0F1F2F3F4F5. Now we get all the keys for each sectors, here I use MIFARE Classic Tool to dump it to my android phone instead of use proxmark3 to dump it into my computer cause it’s more convenient to use a android phone with NFC support to write data to tags. All done. :)
5. Conclusion
Now it’s just a note for how to use proxmark3, in the future I will post another notes about the protocol and internals about how above things work.